This Crispy Cauliflower Pizza Crust is so easy to make. It's the perfect way to change pizza night into a healthy pizza night! It's low-carb and keto-friendly and done in under 30 minutes. Perfect for those busy weeknight dinners.

Cauliflower is a vegetable, but for those of you who weren't sure, vegetables are a food group that you should really try to eat more of. I know I slack in the veggie department, so any tips or tricks I hear about to eat more I'm game!
As a mother of 4, I always try to instill healthy habits into my children. Sometimes; they just do not like the food I'm making so when I find ways to sneak it into their meals I always do. They all love pizza, so being able to make the crust out of cauliflower has been a great way to sneak it into their diet.
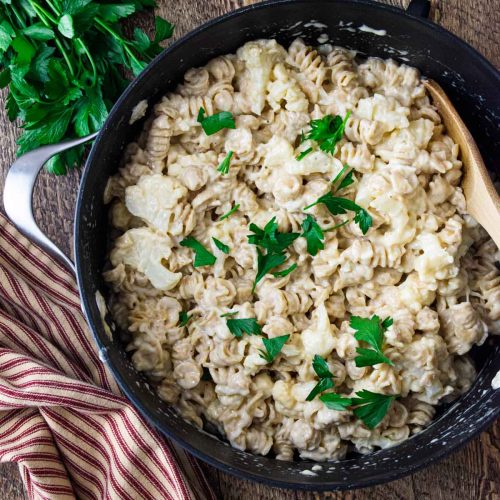
If you are looking for more ways to make cauliflower dinners that your kids will love then you need to try my Cauliflower Mac and Cheese and my Crispy Buffalo Cauliflower Bites.
Table of contents
Ingredients to make this crispy pizza crust
Here are all the ingredients that you'll need to make this delicious keto pizza crust.

- cauliflower - leaves discarded and chopped into pieces. These pieces will then be blended to make cauliflower rice so making them small enough for the blender to mince them up is key.
- eggs - eggs are used when making cauliflower crust because they act as a binder that holds the ingredients together.
- shredded mozzarella cheese - used as another binder for the ingredients and adds flavor.
- parmesan cheese - also used just like the mozzarella and acts as a binding ingredient for the cauliflower crust and provides an added flavor.
- garlic powder - I use this ingredient in most of my recipes. It provides an added garlic taste without having to use raw garlic cloves.
- oregano - dried seasoning that compliments pizza sauce.
- basil - dried seasoning that provides a fresh herb flavor.
Directions to make this super crispy crust
Step-by-step directions for making cauliflower pizza crust.
Step 1 - Place cauliflower in a blender until rice is formed.
Step 2 - Transfer the cauliflower rice to a microwavable bowl. Microwave for 5 minutes. This will help tenderize the cauliflower.

Step 3 - After the microwaved veggie has cooled off enough to handle, place it into a kitchen towel and squeeze out as much water as you can.
Step 4 - Place the squeezed cauliflower into a mixing bowl and add the eggs, cheese, and seasonings. Mix until well combined.

Step 5 - Preheat oven to 425° and place a sheet of parchment paper on top of the pizza pan. Add the cauliflower mixture and press down until it forms a circle, like a pizza. Make sure to leave a little lip on the outside. I also used a rubber spatula and pressed the whole crust down to make it as flat as possible.
Step 6 - Cook for 15 to 20 minutes or until a deep golden brown with dark edges. The edges should easily lift away from the pan. Remove from oven.

Step 7 - Top crispy crust with desired toppings and cook again for another 10 to 15 minutes. Or until the cheese is bubbly! Cut the pizza into triangles and serve!
Cookware
You will need a round pizza pan to cook your pizza crust on. You can choose one with holes or without. I've linked some below.
You will also need a blender and a microwave-safe bowl.
Substitutions and Variations
If you don't have all the ingredients on hand here are some swap ideas you can use instead.
Eggs - if you are dairy-free or vegan you can use a flax egg in place as a binder. To make a flax egg you mix ground flaxseed meal with water.
Mozzarella Cheese and Parmesan Cheese - again if you are dairy-free you can omit the cheese ingredient or replace it with a dairy-free cheese.
Basil - instead of using dried seasoning you can also use fresh basil leaves minced.
Variations - when adding your toppings here are some suggestions you may want to try out. Pizza sauce is a given, pepperoni, olives, peppers, mushrooms, all the different cheeses, the possibilities are endless. Leave in the comment your favorite toppings to add and I'll try them next time 😉
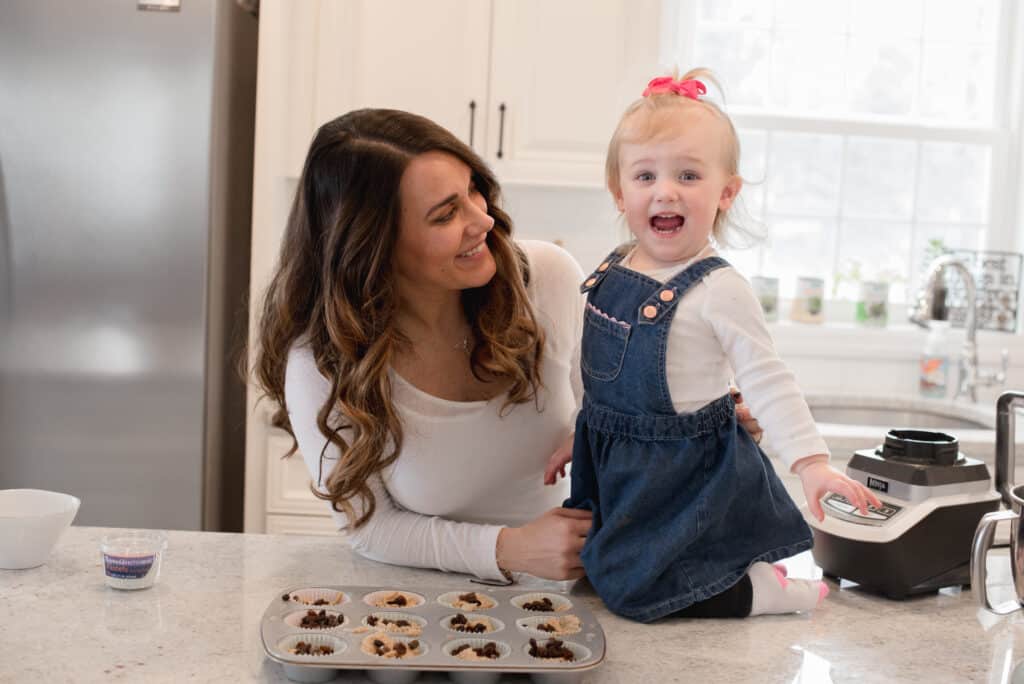
How can the kids help
Well, this is the perfect recipe for kids. My 1-year old basically helped me make the entire dish minus placing it in the oven. Below is everything she helped with.
- Have your child pull off the cauliflower leaves and throw them in the garbage.
- I chopped the cauliflower and my 1-year-old threw the cauliflower florets into the blender.
- Teach your child how to use a blender.
- Have them add the remaining ingredients.
- Mix all ingredients in the mixing bowl.

Tips and FAQ's
Cauliflower itself contains a lot of moisture. The key to removing it is to try and squeeze out as much water as you possibly can. This is a very important step in the cooking process.
Store your crust in an airtight container in the fridge. I keep a piece of parchment paper in between each slice to prevent sticking. You can keep the pizza in your fridge for 3-5 days.
I recommend reheating your crust in the oven at 300 degrees Fahrenheit until cheese is bubbly or tossing a slice in the toaster oven to crisp it up.
More delicious cauliflower recipes you MUST TRY


If you give this recipe a try don't forget to rate the recipe below! Always love hearing what you all think. You can also Stay in touch with me through social media on @Instagram, Pinterest, and Facebook. Don't forget to tag me when you try one of my healthy recipes!

Easy Crispy Cauliflower Pizza Crust
Equipment
- pizza pan
- blender
- microwave safe bowl
- kitchen towel
Ingredients
- 1 medium cauliflower head leaves discarded and chopped into bite-sized pieces
- 2 eggs
- 1 cup shredded mozzarella cheese
- ½ cup grated parmesan cheese
- 1 tsp garlic powder
- 1 tsp dried oregano
- 1 tsp dried basil
- kosher salt to taste
- ground black pepper to taste
Instructions
- Preheat oven to 425° and line a pizza pan with parchment paper. Using a cutting board and butcher's knife, chop up pieces of the cauliflower and place them in a blender. Blend until cauliflower rice is formed. Then, transfer the cauliflower rice to a microwavable bowl. Microwave for 5 minutes. This will help tenderize the veggies.
- Transfer the cauliflower rice to a microwavable safe bowl. Microwave for 5 minutes. This will help tenderize the veggies.
- After cauliflower is cooled off enough to handle place in a kitchen towel and squeeze out as much water as you can.
- Place cauliflower in a mixing bowl and add eggs, cheese, and spices. Mix well to combine.
- Dump cauliflower dough on the prepared pizza pan and press down to form a circle like a pizza. Make sure to leave a little lip on the outside. I also used a rubber spatula and pressed the whole crust down to make it as flat as possible.
- Place in the preheated oven and bake for 15 to 20 minutes or until the crust is golden brown.
- Remove from oven and add desired toppings and cook again for another 15 minutes or until cheese is bubbly.
Notes
- Have your child pull off the cauliflower leaves and throw them in the garbage.
- I chopped the cauliflower and my 1-year-old threw the cauliflower florets into the blender.
- Teach your child how to use a blender.
- Have them add the remaining ingredients.
- Mix all ingredients in the mixing bowl.
Nutrition
Jillian is the creator of Jillian's Healthful Eats. She is the one who cooks all the meals, develops all the recipes, takes all the photographs, and washes all the dishes! She is a very busy wife and mother of 4 who enjoys cooking with her children and instilling in them her love for health and nutrition!
Leave a Reply