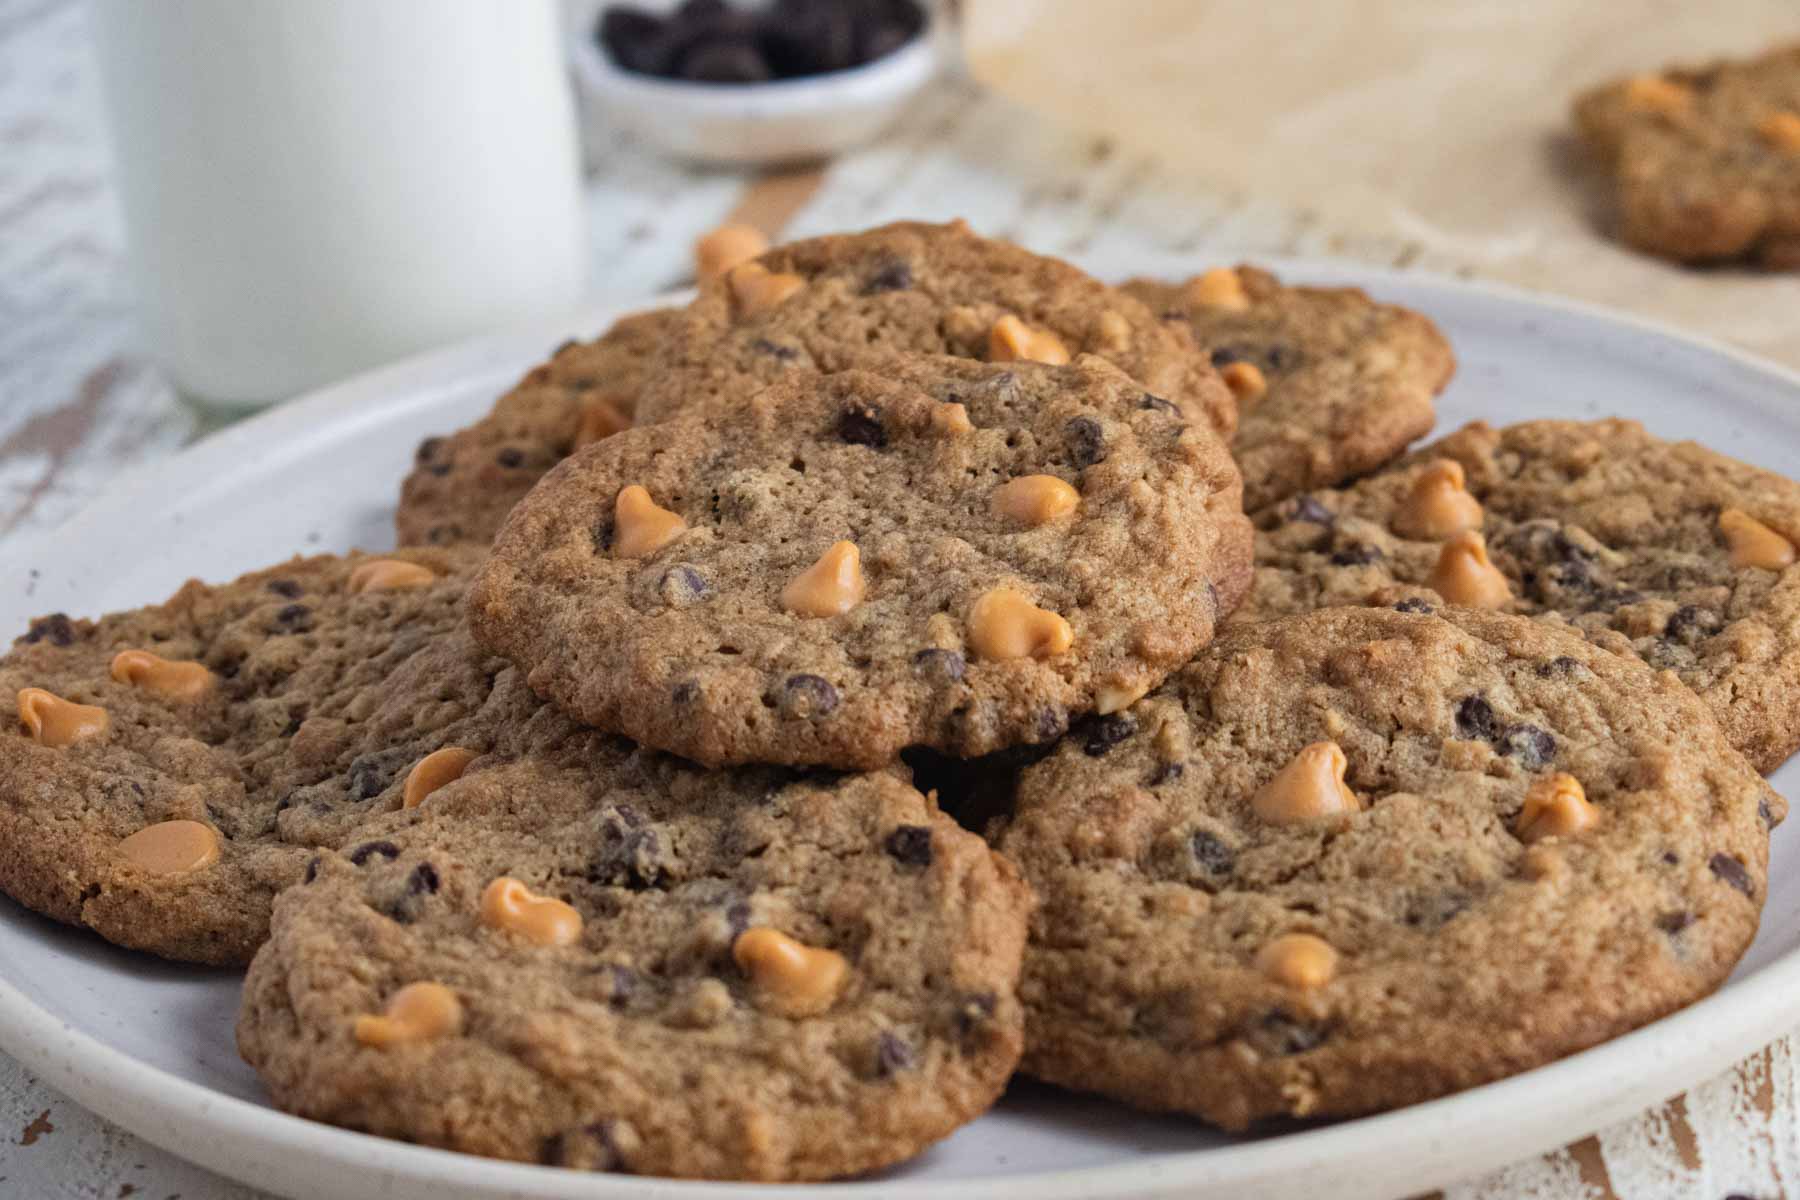
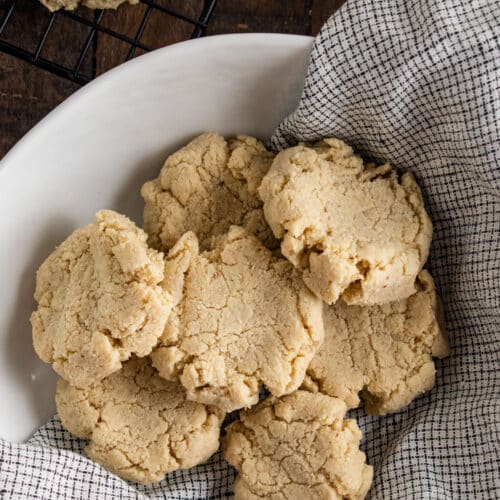
These Delicious Cookies are gooey on the inside with a light crisp around the rim! The butterscotch and the chocolate combined with these wholesome ingredients make these cookies a sure winner, but let me just warn you, you can't JUST have one 😉 Perfect to bring to that holiday cookie swap!

Tis the season to bake cookies! Healthy cookies are an added bonus, but when you make cookies with butterscotch AND chocolate chips all cooked together in the same dough you call that PERFECTION!
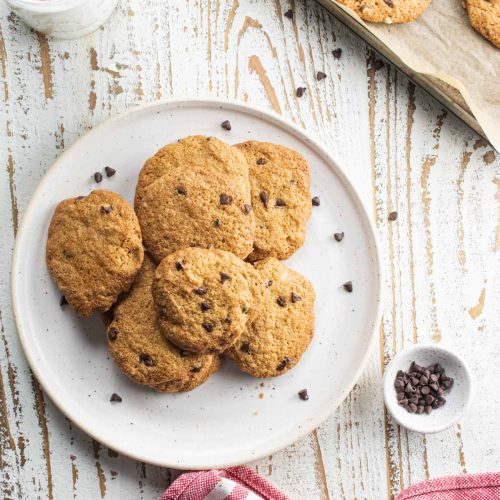
I made these cookies using all wholesome ingredients and the best part is they bake in ONLY 10 minutes! Looking for other cookie ingredients, check out my Almond Flour Chocolate Chip Cookies (made without butter) or my Peanut Butter Chocolate Chip Cookies!
Table of contents
Ingredients for the cookies
Below is a list of ingredients you'll need to make these delicious cookies with some tips for success!

- unsalted butter - using unsalted butter gives you control of the overall taste of the cookies. Unsalted butter lets the real flavor of your cookies come through.
- coconut sugar and light brown sugar - coconut sugar is a natural sweetener, but it's also not as moist as the light brown sugar. That's why I like to use both! Instead of adding more liquid I just use half coconut and half light brown because light brown has more moisture so it keeps your cookies from drying out.
- natural peanut butter - I find peanut butter to be the perfect addition when baking. It adds a rich fatty flavor and a smooth consistency.
- whole wheat flour and almond flour - my favorite brand to use is Bob's Red Mill Whole Wheat Flour , Bob's Red Mill Super Fine Natural Almond Flour - using whole wheat and almond flour together will give you nearly a full spectrum nutritional profile.
- semi-sweet dark chocolate morsels and butterscotch morsels - the BEST part about this recipe is adding these joys of heaven!
Step-by Step instructions for the cookies
Step 1 - In a stand mixer (or large bowl), beat unsalted butter for 2 minutes or until smooth. Add in the light brown sugar and the coconut sugar and beat for another 2 minutes. My favorite brand to use is Bob's Red Mill coconut sugar!

Step 2 - Add the peanut butter and mix until well combined.
Step 3 - Add in your eggs and vanilla extract and beat again, until smooth.
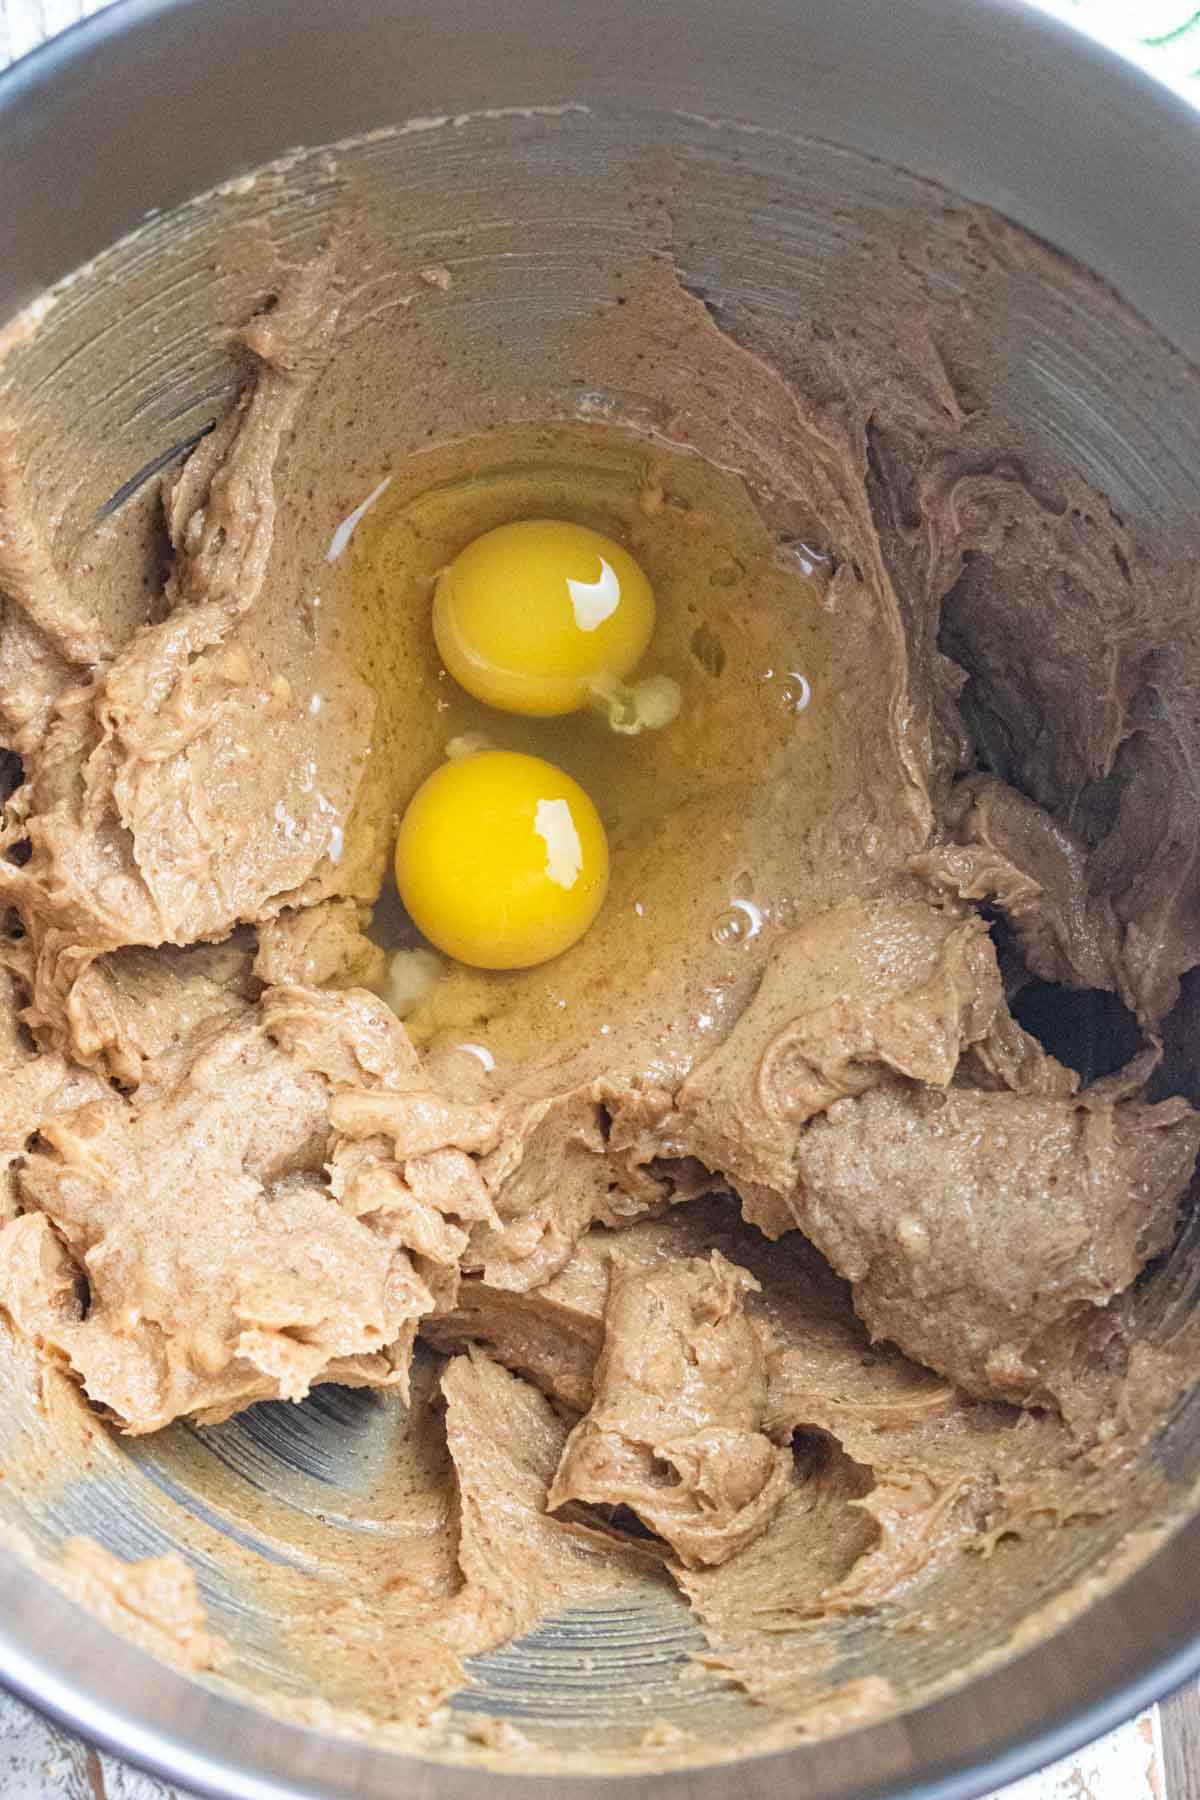
Step 4 - In a separate bowl, mix together your flour and baking soda, and salt. Then, beat them into the mix next.
Step 5 - Fold in the chocolate chips.

Step 6 - Cover the mix with foil or saran wrap and place in the fridge for about an hour.
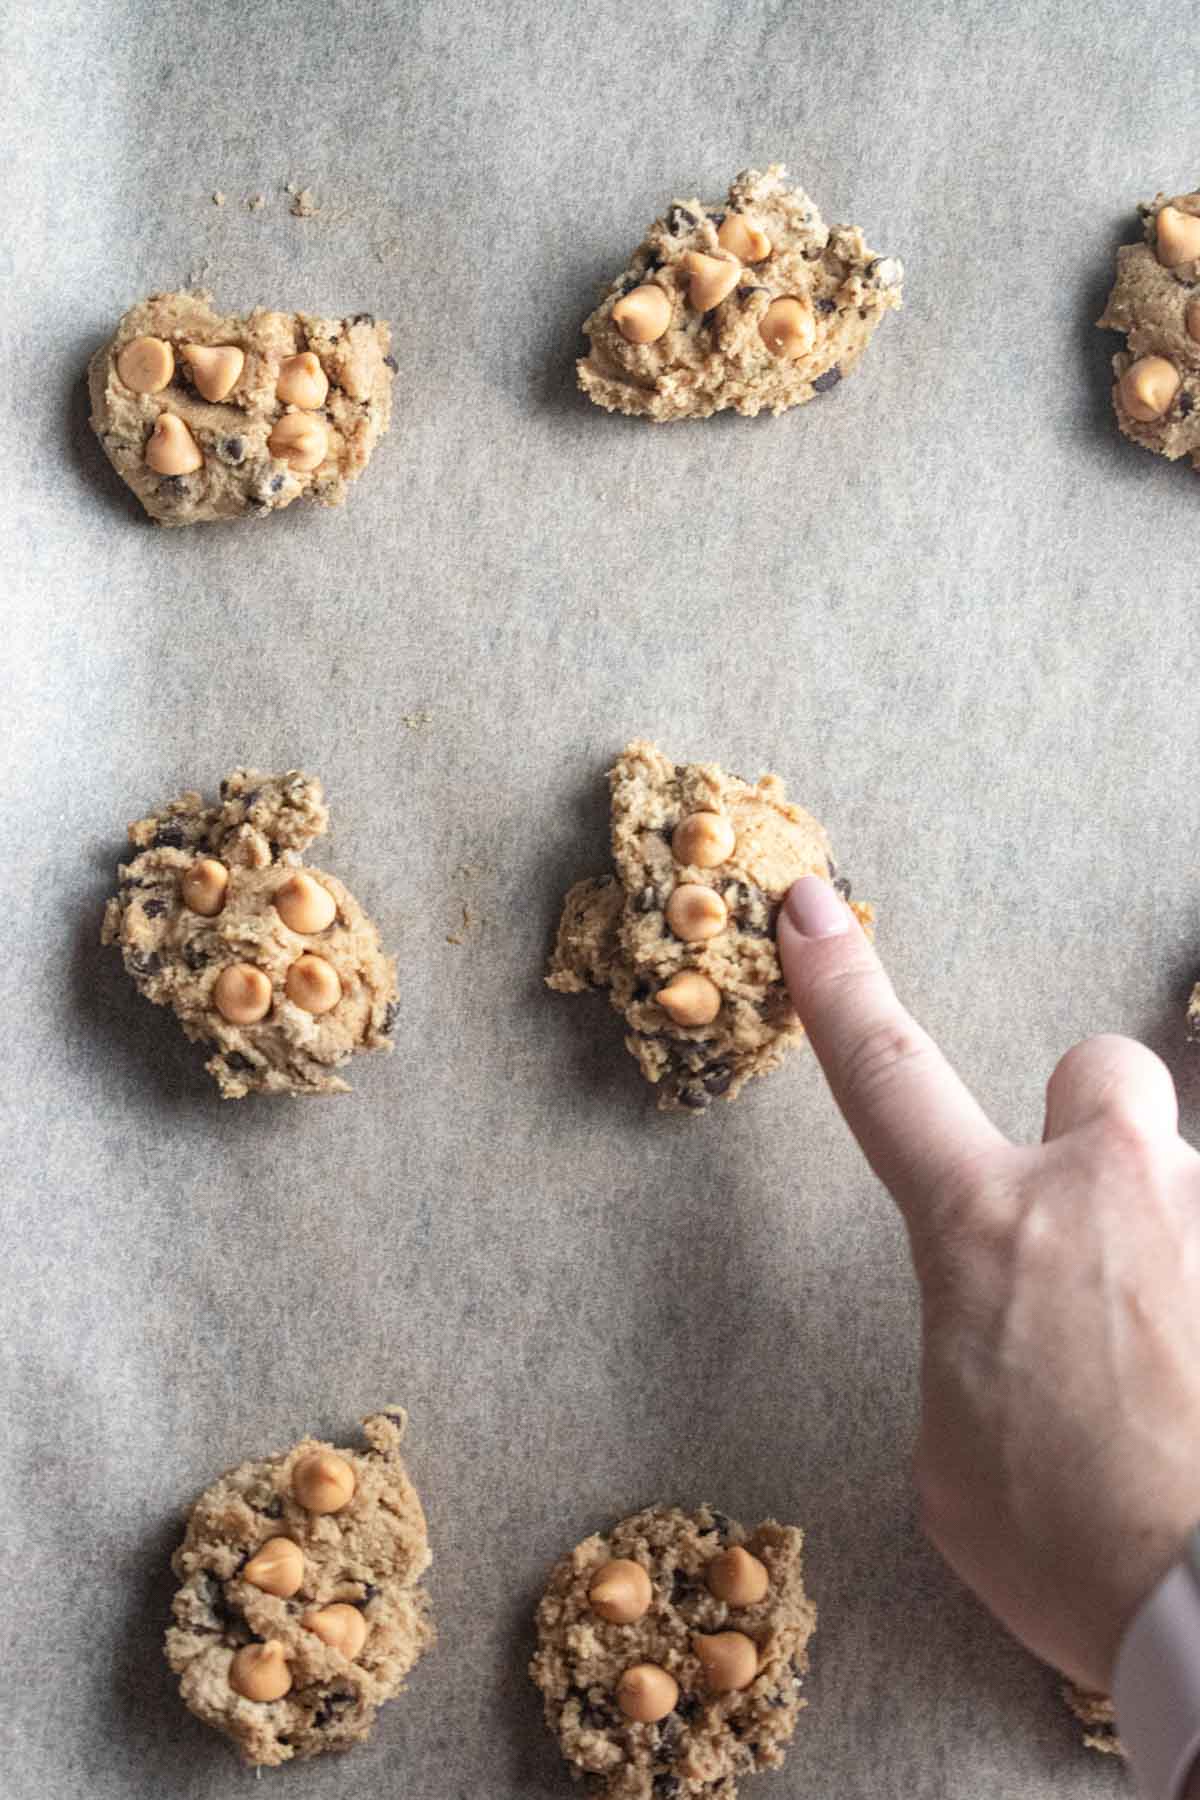
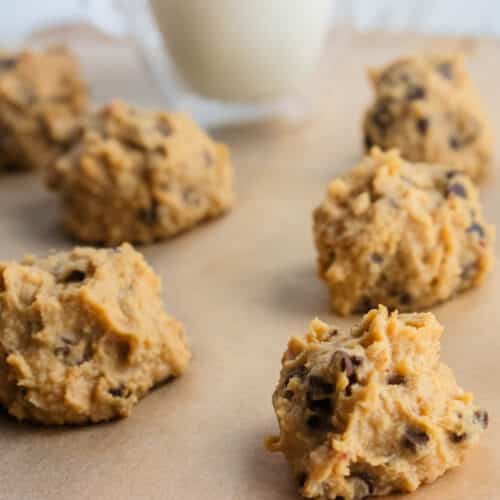
Step 7 - Once the dough is chilled, preheat the oven to 350° and line a baking pan with parchment paper. Using 2 spoons, scoop out spoonfuls of dough and place them on the prepared baking pan by sliding the dough off with the second spoon.
Step 8 - Press the butterscotch morsels into the mounds of dough. Bake for 10 minutes. Remove from the oven and cool on a cooling rack. I would recommend eating at least 1 warm 😉
Substitutions and Add-ins
Here are few ingredient substitutes you can also use when making these cookies. You can also add in some other yummy ingredients to really enhance these cookies to the fullest. Check out my suggestions here!
Light Brown Sugar - feel free to use dark brown sugar if you only happen to have that in your pantry. The cookies still taste delicious, but dark will make the cookies a tad chewier.
Coconut Sugar - this may be a sugar not everyone has in their house. I like using this sugar because it's lower on the glycemic index than other sugars so when I use half and half it's less the amount of sugar you're getting, but you can always use all light brown sugar or all dark brown sugar.
Butterscotch Morsels - If you happen to not have butterscotch morsels at home or don't want to use them then just simply leave them out. Then you're left with the best chocolate chip cookies out there!
Sea Salt - Say what?! Sprinkle some sea salt right on top of those cookies before baking. Salt and sweet combined is an out of world flavor!
Cookware for this healthy dessert
Below is the cookware I used to make these yummy cookies!
- KitchenAid Stand Mixer
- Baking Trays
- Parchment Paper
- Rubber Spatula - I like using a rubber spatula after my KitchenAid mixer has done its job and I have removed the bowl from the stand. I use the rubber spatula to help guide my cookie dough into a nice pile for easy scooping.
- Metal Spatula - I have found it much easier to use a metal spatula to remove your baked cookies from the baking tray. The metal spatula helps easily remove the cookies from the baking tray in one swift motion, easily getting underneath the cookie.
How can the kids help
I always talk about how much I love cooking and baking with my kids, but I find it even more special around the holidays! Baking Christmas cookies is something I've always cherished with my family and it will hopefully be a tradition for life! Here are some ways to include your kids in this recipe
- Have your kids help you toss everything into the KitchenAid stand mixer.
- Teach your children how to move the bar on the KitchenAid to the different settings to have it move faster and slower.
- Have them help you scoop out the cookies using the spoons and drop the cookie mounds on the baking tray.
- Of course have your kids press those butterscotch morsels into each cookie.
Tips and FAQ's
Make sure there are NO chunks of butter after adding your sugars. You want a paste-like consistency. This is an important step that if you do not follow your cookies will turn out too tough.
Chilling your cookie dough controls the spread. It helps to solidify the fat in the cookies. As the cookies bake, the fat in the cookie dough takes longer to melt. The longer the fat remains solid, the less the cookies spread.
You sure can! I don't know why you would want to 🙂 , but if you aren't a fan then just simply leave them out.
Store any of your leftover cookies in an airtight container at room temperature for up to 5 days OR place your cookies in a sealed freezer bag and store them in the freezer for up to 2 months.
I have found it much easier to use a metal spatula for this task. The metal spatula helps easily remove the cookies from the baking tray in one swift motion easily getting underneath the cookie.
Other cookie recipes to try

If you give this dessert a try, don't forget to rate the recipe below! Always love hearing what you all think. You can also Stay in touch with me through social media on @Instagram, Pinterest, and Facebook. Don't forget to tag me when you try one of my healthy recipes!

Healthy Chocolate Chip Butterscotch Cookies
Equipment
- stand mixer
- baking tray
- cooling rack
- parchment paper
Ingredients
- 1 cup unsalted butter
- 1 cup light brown sugar
- ½ cup coconut sugar
- 1 cup natural peanut butter
- 1 tsp pure vanilla extract
- 2 eggs
- 1 cup whole wheat flour
- 1 cup almond flour
- 2 tsp baking soda
- 1 tsp kosher salt
- 1 cup semi-sweet dark chocolate morsels
- 1 cup butterscotch morsels
Instructions
- In a stand mixer, or large bowl, beat 1 cup of unsalted butter (room temperature) for 2 minutes or until smooth. Add in brown sugar and coconut sugar and beat for another 2 minutes.
- Next, add in peanut butter and mix well. There should be no chunks and a smooth consistency.
- Then, add in the eggs and vanilla extract and beat again, mixing well.
- In a separate bowl combine both flours, baking soda, and salt. Then, slowly add into the mixture and beat until combined. Then, fold in chocolate chips.
- Cover mix and place in fridge for about an hour. This will help your cookies to bake and not be so flat. Once dough is chilled, preheat oven to 350° and line a baking pan with parchment paper.
- Using 2 spoons scoop out spoonfuls of the mix and use the second spoon to slide the mounds onto the prepared baking pan. Press 3 to 4 butterscotch morsels into each mound. Bake for 10 minutes. Remove from oven and place cookies on cooling rack. Continue until all the dough has been used. Let cool before serving!
Notes
- Have your kids help you toss everything into the KitchenAid stand mixer.
- Teach your children how to move the bar on the KitchenAid to the different settings to have it move faster and slower.
- Have them help you scoop out the cookies using the spoons and drop the cookie mounds on the baking tray.
- Of course have your kids press those butterscotch morsels into each cookie.
Useful info. Lucky me I found your web site accidentally, and I am shocked why this coincidence
didn't took place in advance! I bookmarked it.
Awesome to hear!